Another Rome vs Carthage game. Peter took Carthage whilst yours truly took Rome.
This time we tried out a reworked terrain pre-game. No blocks with magnets this time. Just smaller cubes with the army, scout and dummy symbols on them. The dummies had a donkey's head - a herdsman with his flock if you like. I'll give an overview of the amended rules in a future post.
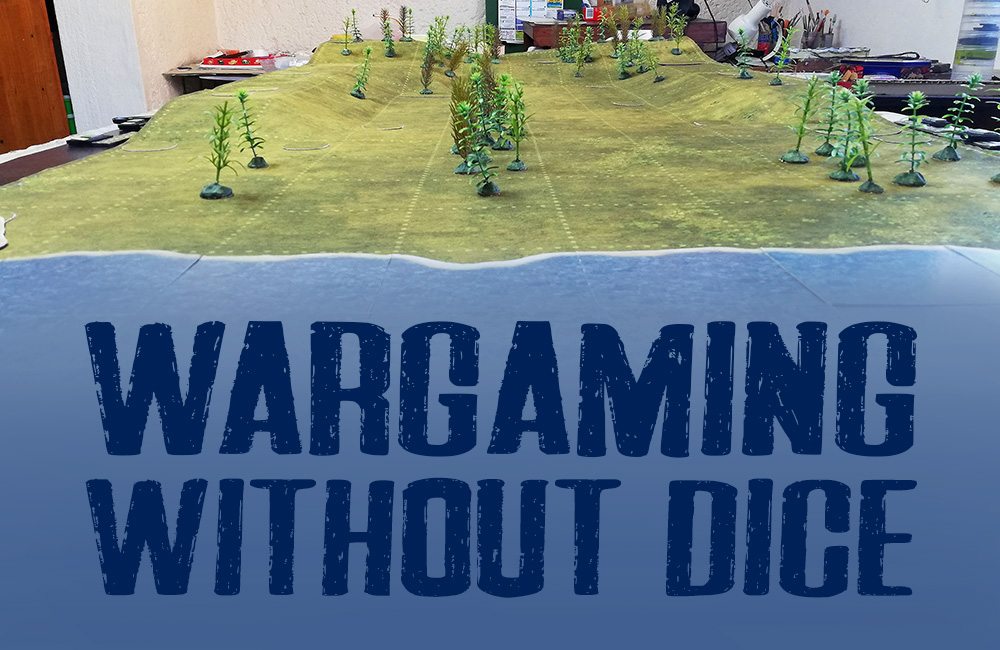
I used an average terrain-dense map for this game. The crossed swords symbol shows where our battle took place.


Rome on the right, Carthage on the left. Generals and commanders are now customisable: you take blank leader counters and assign any command rating (from 0 to 5) and combat rating (also 0 - 5) that you like. Leaders with better command and combat rating cost more points to buy. In this case we had two average-command armies: 4 commands with one general and 3 commanders.

Peter deployed first so moves first, advancing his huge infantry command diagonally to the left in order to be able to engage my army. His MC on the right advance to engage my LI and Auxilia in the wood and scrub.

I pull my Auxilia back, setting a trap.

On they come. The MC on my left flank reach the LI but can't shoot them since their basic factor is a 1 vs LI, with a -1 modifier for shooting into scrub, dropping their combat factor to ½, which means they can shoot only during my move (shooters normally shoot twice a turn, in both players' moves).

My MC assault the Carthaginian left. My general has a better combat factor than the Carthaginian cavalry commander, winning the fight and - to add salt to the wounds - wounding the commander.

Nobody routs yet.

The outfought Carthaginian MC break off after melee (this simulates the fluidity of cavalry vs cavalry combat).

The Numidian LH move up to engage the legions with missile fire, who return the compliment. Meanwhile the MC on my left charge the LI who cannot evade and so must take it on the chin. True Romans, every man! The rest of the infantry line advance.

The Roman MC charge again, obliging the Carthaginian MC and Slingers to evade. It's absolutely crucial that I win on this flank.
Meanwhile the legions charge the Numidians in the centre, who naturally evade - but now there's a wall of HI behind them.

The LI on my left are close to routing. That's fine - they're bait.

Plenty of missile file but nobody moves.

One MC unit charges the Slingers who must - being LI - evade off the battlefield. They count as routed but their loss does not add any panic points for the Carthaginians since everyone expects them to run for it anyway. Panic points are incurred whenever units and leaders are lost. If enough panic points are accumulated, brittle, average and finally resolute units still on the battlefield automatically rout. It's a refinement of the DBA ⅓ gone everybody goes rule.

The LI rout. Their loss also doesn't cost the Romans any panic points.

The routed LI are removed and the victorious MC occupy their square - and walk into the trap.

I forgot to photograph Carthage's turn here but no matter.
Peter realises that the MC on my left are in the ZOC of the Auxilia. That means they can't form column and being in ZOC must, if they wish to move, turn 90° to face the Auxilia or face away from them. In either case the MC become disordered, leaving them in no condition to fight the Auxilia. Peter decides to face away from the Auxilia and run for it, incurring disorder as he does so.
My MC head for the rear of the Warband and start shooting them up. Time to turn Carthaginian left flank!

No melee at the end of turn 5 so
Peter's MC heads for the other wing to confront my MC.

The Roman MC charge the Warband in the rear, disordering them and knocking down their morale, however the Roman commander is wounded!
The legions meanwhile charge the Numidian LH who cannot evade since their own HI is right behind them. The Numidians are hammered in the charge. Notice that the legion unit on the left doesn't move - it has no enemy unit within charge reach and so stays put. The legion unit on the right moves up since its commander is with it, keeping it in command, unlike the stationary unit on the left. The legions are - quite by accident - turning into an oblique line.

The Roman MC break off immediately after the charge. Mounted units can break off from foot units in this manner.

The Numidians unsurprisingly are routed.

The triumphant legions occupy their vacated squares.

Before the Carthaginians can do anything, the Roman MC on my right finally shoot the Carthaginian MC to rout.

The Warband and Poeni Infantry charge in whilst the surviving MC unit moves up to engage the Roman MC with some missile fire.

The other Roman MC unit moves up to support its comrades. Roman pressure is beginning to tell.

A Warband unit routs - it was pretty battered from that rear charge by the Roman MC earlier.


Enough Carthaginian units have been lost for all average units to automatically rout. The surviving MC unit collapses and is lost, along with its commander.

And that raises panic points to the level where resolute units - the Warband and Poeni Foot - rout in turn. Game over!

This was a quick game, lasting an hour and 15 minutes. It does illustrate the importance of choosing a general with a good command rating so as not to be obliged to put one's entire army down first, leaving the other player the opportunity to deploy in consequence.
Thanks Peter. We can have a revenge game any time (actually this coming Friday). 😁
No comments:
Post a Comment