
Peter got me. He got me good. And in public too as this game took place at the Historical Gaming Group that meets once a fortnight at the German Club in Durban. Nice place with good grub. Jenny the barmaid who handles food and drinks is friendly and on the ball (this advertising is given free of charge).

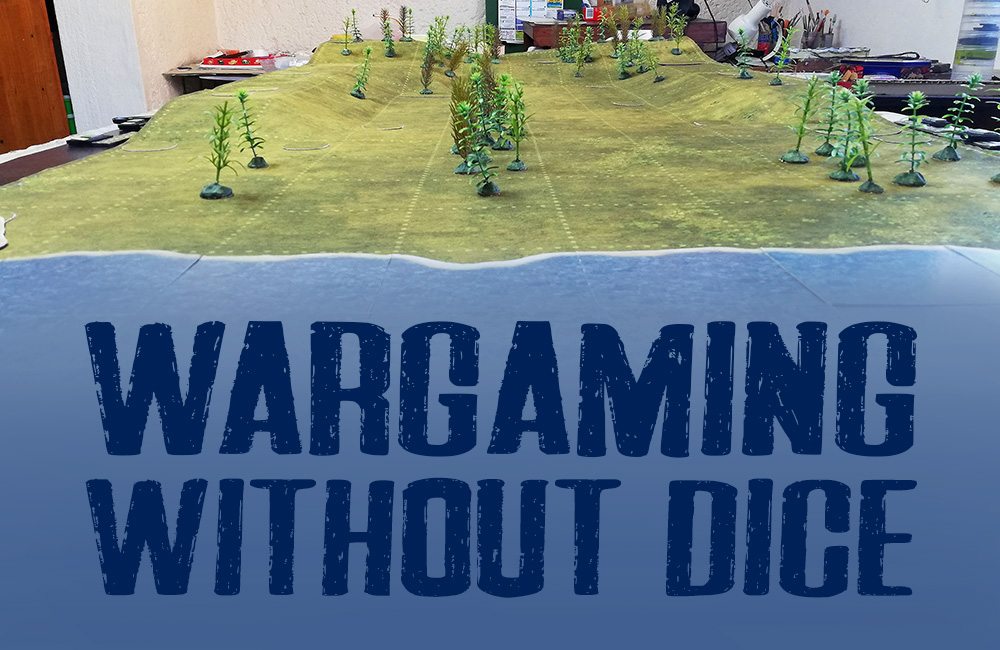
This was another Rome vs Carthage scenario, Peter commanding Carthage, yours truly Rome. Using the newly streamlined terrain pre-game we got this battlefield:


Which we then set up on the table. I brought out a new battlecloth I had just got printed. Battlefield squares now 10x10cm rather than 9,5x9,5 cm as per the former cloth, and greener as well.

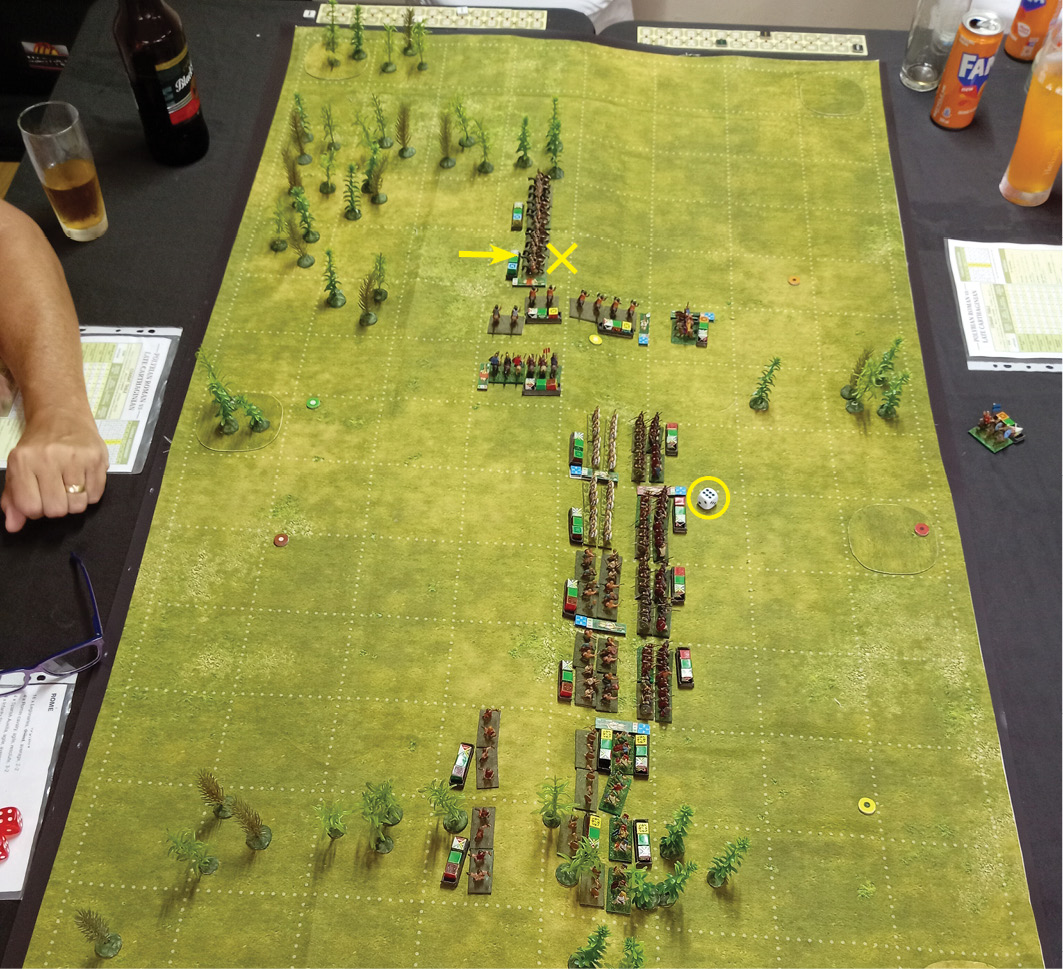
We then organised our armies and deployed them. Each player groups his stands into units as he sees fit and chooses whatever general and commanders he wants from a command point quota that varies depending on whether he has a poor, average or good command army.
Peter on the left, yours truly on the right. Peter chose a general with a command rating of 1 whilst I chose a general with a command rating of 4. Difference was 3 so Peter had to deploy his entire army first. I then put down my own army, spreading my MC into a regular strength unit and two understrength units to better match the frontage of Peter's cavalry.

Having deployed first, Peter moved first, so
Turn 1. Carthage.
With the exception of his LH, Peter advanced his entire army. I forgot to photograph this move so straight to
Turn 1. Rome.
I advanced everyone, my cavalry moving up at speed to preoccupy Peter's cav whilst my legions won the game for me in the centre. My Auxilia screened by my LI moved into the woods on my left.

Turn 2. Carthage.
My first sucker punch from Peter. His LH slipped between my MC units and flanked my one MC unit facing his MC. Javelins, javelins everywhere.

Turn 2. Rome.
My double-ZOCed MC unit could not escape ZOC as that would meaning moving into the ZOC of another enemy unit which is forbidden. Giving it up for lost I pulled the other understrength MC unit back whilst the rest of my cavalry advanced into the rear of Peter's infantry. My legions moved up - they would need to engage the Carthaginian infantry as quickly as possible.

Turn 3. Carthage.
Peter's LH shot up my MC and then his own MC charged it. My mounted unit would not last long....
Meanwhile the legionaries did their thing with their pila.

Turn 3. Rome.
I changed my mind about rear-ending Peter's infantry and came back with my full-strength MC unit to harass Peter's LH whilst my other mounted unit did the same. Meanwhile the legions charged the Poeni foot and the Warband. I would win the battle in the centre. The legions were invincible in a frontal fight. Weren't they?

Turn 3. Melee.
My beleaguered MC unit finally routed whilst the legionaries and Carthaginian foot duked it out. In the fury of the fighting my legionary commander was wounded!
Turn 4. Carthage.
Peter's ZOCed LH turned to face their opponents whilst his unengaged MC moved up in the direction of my rear. Oh dear....

Turn 4. Rome.
Time to act quickly. My MC charged, one LH evading whilst the other - unable to fall back - stood its ground. But the previous 90 degree turn had disordered it, making it vulnerable and it lost charge combat, getting routed.

The victorious Roman MC occupies the vacated square.

Turn 4. Melee.
Nobody routs yet. All going according to plan. My legions were executing line relief as necessary. My general began composing his victory speech.

Turn 5. Carthage.
The Carthaginian cavalry move up to engage my outnumbered horse....

Turn 5. Rome.
....who run for it. Their job is to keep the Carthaginian horse busy without getting annihilated themselves. It is for the glorious Sons of Romulus to win the battle. Hurry up and win it, chaps!

Turn 5. Melee.
O tempora, O mores! The courageous legionary commander is killed! The bards will sing of thine heroic deeds.

Go meet the other Roman heroes in the Elysian Fields....

Turn 6. Carthage.
The Carthaginian MC charge the badly outnumbered Roman MC unit that naturally evades into the woods. The Numidian LH move to the the Roman MC. I got confused here - the Numidians weren't charging my cavalry as they didn't have the movement range, but I moved them back anyway.

Turn 6. Rome.
Comes to the same thing anyway as my MC charged the Numidian LH who evaded.
All this while on the other end of the battlefield the light troops were having a long and inconclusive missile duel, which is historically how these things went.

Turn 6. Melee.
A Gallic Warband unit routed. I rejoice inwardly until I noticed that two of my legion units were close to routing - having already executed line relief. What was going on?

The victorious legion occupies the vacated square.

Turn 7. Carthage.
One Carthaginian MC unit charges my Roman MC in the forest. Both units are now disordered but Peter doesn't care - he intends to finish off that Roman unit cost what it may. His other cavalry unit heads for my rear. This could spell trouble.

Seems I forgot to move in turn 7. Never mind, on to
Turn 7. Melee.
My two right wing legions (Romans invented the fasces so what can I say?) rout. Suddenly I am close to disaster. How were the Carthaginians beating Rome's finest?

The triumphant Poeni advance.

Turn 8. Carthage.
The one MC units moves to confront my MC in the rear of the Poeni foot.

Turn 8. Rome.
I realise the jig is up - I can't save my legions. My cavalry tries a last stab at the Slingers on my left.

Turn 8. Melee.
Another legion unit routs

The victorious Warband move up to occupy the vacated square.
And that was it. My losses had reached the level where all average units left on the battlefield automatically rout. That meant everyone except the resolute Roman cavalry. But with ¾ of the army now gone, even they decided that discretion was the better part of an awful lot else. Game over!

Carthage had lost just 6 points.

Rome lost 14 points. A very good win for Carthage.

So how had I lost? This was Peter's big surprise. He had organised his Poeni and Warband into two separate commands, each with a commander. He then deployed all the HI units in depth - 4 stands per unit in a 2x2 configuration. This meant that he got both depth bonus for melee and two commanders' bonuses for charge and melee. The death of my own commander didn't help things.
My legions were raw recruits, not experienced veterans, hence their morale was average: 2 firm and 2 shaken intervals rather than the veteran's 3 firm and 2 shaken. This meant that even with their line relief Peter's massed infantry could just about outfight them. All he had to do was keep everyone else away from his heavy infantry and the game was his. And I thought I was doing the same to him! Well played Peter. 👍
The game incidentally lasted an hour and a half.

Nice battle report! Do you discuss the pre-game terrain mechanics in another post?
ReplyDeleteI did but that version has become considerably outdated. I'll post a description of the updated version soon.
ReplyDelete