This was a basic tryout game with my new playtester, Jason. Jason has tried Optio once before and liked it. He now tried it again and liked it some more. Good sign. 😁
The armies were generic, Goodies vs Baddies. Jason naturally led the Goodies. Each army was identical: 4 units of heavy infantry, 2 units of light infantry and 2 units of medium cavalry. Each unit had 2 stands so 16 stands in all. The armies were divided into 4 commands with one general and three commanders. All units were rated average which meant that if the equivalent of half the stands was lost the entire army would collapse. Each general and commander had a variable loss rating equivalent to so many stands, so it wasn't necessary to physically lose 8 stands, just as many stands and generals/commanders worth enough stands to make the combined total equal to 8.
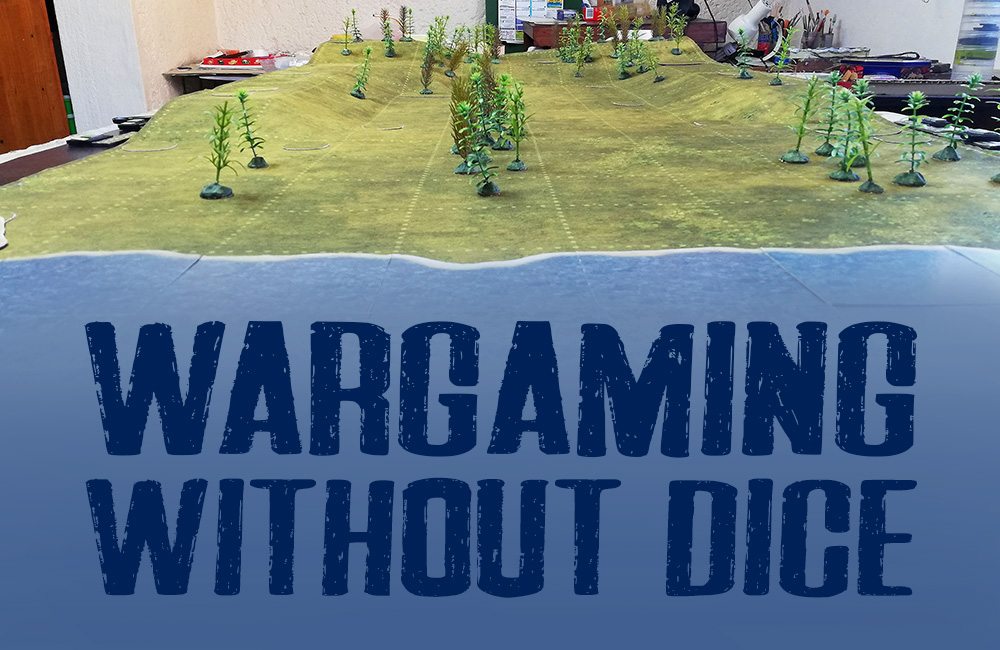
We used the terrain pre-game to arrive at this battlefield.

....and deployed our forces accordingly. Goodies on the left, Baddies on the right (I used Carthaginian and Roman figures since I can't find Baddies or Goodies on any of the various foundry lists).

I had started deployment so I moved first.
Turn 1. Baddies.
Realising that Jason's MC threatened my HI's right flank I about-faced them, preparing to fall back to the battlefield edge where the forest would anchor their right. Meanwhile my MC advanced to engage the cavalry guard on Jason's own right.

Turn 1. Goodies.
Jason responded by advancing his entire army, his skirmishers passing through his HI. Notice that two units may occupy one square.

Turn 2. Baddies.
My HI fell back, passing through their own skirmishers, whilst my MC advanced to engage Jason's MC.

Turn 2. Goodies.
Jason pulled his right flank cavalry back whilst his infantry and left flank cavalry advanced to engage my foot.

Turn 3. Baddies.
I sprang my trap, my cavalry surrounding Jason's mounted unit. My HI meanwhile turned around to face Jason's advancing foot.

Turn 3. Goodies.
Jason formed column with his other cavalry unit and marched double-time to the aid of their trapped comrades.

Turn 4. Baddies.
But too late. The Baddie cavalry (bad horse?) charged Jason's horsemen from the front and rear, instantly routing them. The infantry, no longer afraid of being flanked by the Goodie cavalry, advanced to engage the enemy foot.

Turn 4. Goodies.
Nothing for it but to close with my infantry and keep my cavalry occupied for as long as possible with his cavalry.

Turn 5. Baddies.
My one MC unit got onto Jason's MC flank whilst the LI continued to trade missiles. Here I broke a rule: if a unit in line turns 90 degrees it becomes disordered, but I forgot to disorder the cavalry unit. Sorry Jason!

Turn 5. Goodies.
Jason was able to escape the trap since the MC unit was free to move away from either ZOCing unit. His HI meanwhile charged straight through their own LI, obliged my LI to evade through their own heavy foot, and closed with my HI.

Turn 6. Baddies.
My one MC unit moves up to keep Jason's MC unit busy whilst my other MC unit charges a HI unit in the rear. Note that if my one MC unit had been disordered as it should have been, it would not have tried to engage Jason's own MC. The charged HI becomes disordered and suffers morale loss.

Turn 6. Goodies.
Jason's MC moves to the flank of my HI whilst his skirmishers start shooting up my MC unit.

Turn 6. Melee.
The HI unit rear-ended earlier routs and is removed from the battlefield, my HI unit occupying its square. Jason is now 7 points down (4 for the bases and 3 for the one commander). One more point and it's game over.

Turn 7. Baddies.
My one MC unit does a 180, moves one square diagonally, and then does another 180 to face the rear of the next of Jason's HI units. My LI duplicate the manoeuvre and send donations of free javelins to the Goodie horsemen. My other MC unit cautiously approaches Jason's MC.

Turn 7. Goodies.
Jason forms line with his MC, ready to charge my HI next turn. The skirmisher foot on both sides are having a field day.

Turn 7. Melee.
Nobody routs.

Turn 8. Baddies.
Charge! In go my MC and rear-end the enemy HI, disordering them and knocking a morale interval off them. Meanwhile my other MC forms line to face Jason's MC.
I forgot to photograph my move but never mind.
Turn 8. Goodies.
Charge! again. Jason hits my HI in the flank, disordering them.

Turn 8. Melee.
Both sides lose a HI unit.

The victorious units occupy the vacated squares. Jason has now lost the equivalent of 9 stands, over the 8 necessary to rout his army. Game over!

I felt after this game that cavalry were a tad too agile, able to turn 180 degrees twice in a turn. From now on they and all other agile units will be able to turn 180 degrees only once.
Thanks for the useful playtest Jason. 🙂 A couple more games and you'll be familiar with the basic tactics.

This comment has been removed by the author.
ReplyDeleteI quite vividly recall that you remembered to disorder my unit when it made a 90 degree turn to come up on the flank of one of your units! Good looking game.
ReplyDeleteI know. I told Jason that I had inadvertedly cheated in a way that affected the rest of the game, so he mustn't take losing too hard.
ReplyDeleteWe should see about scheduling another game sometime. Have the rules changed much since last time?
ReplyDeleteNo much, more simplifying than adding.
ReplyDelete